


Want a stealthy closure without spoiling your case? Here is how to install a discreet lock on a watch box step by step—clear, practical, and tailored for 2026.
Each step matters: a precise marking step, a clean drilling step, and a careful mounting step. You will learn the sequence, tools, and checks that make a hidden lock feel factory‑fitted.
By the end, you will know which stage comes first, what to measure, and how to correct tiny misalignments before the final step.
Planning first: discreet outcomes
Before the first cut, map the sequence. A well-planned first step reduces patching later and keeps the exterior sleek. Define where the cam, keeper, or bolt will sit inside the lid-to-body overlap.
- Decide on a hidden mechanism: cam lock, recessed hasp, push-button catch, or RFID cabinet lock.
- Confirm wall thickness at the mounting point with calipers; record the depth for your hardware thread length.
- Mark a centerline on the lid and box front; keep the strike in the shadow line to stay subtle.
- Choose an inside-first approach: all hardware should live behind the lip or under felt.
- Sketch a step-by-step layout: pilot hole, main bore, dry-fit, strike placement, tightening, refinements.
Hide the keeper under the lid lip. That single stage removes visible clues that a lock exists.
This first stage is where most “invisible” wins happen. Slow, measured moves beat big jumps; think sequence, not shortcuts.
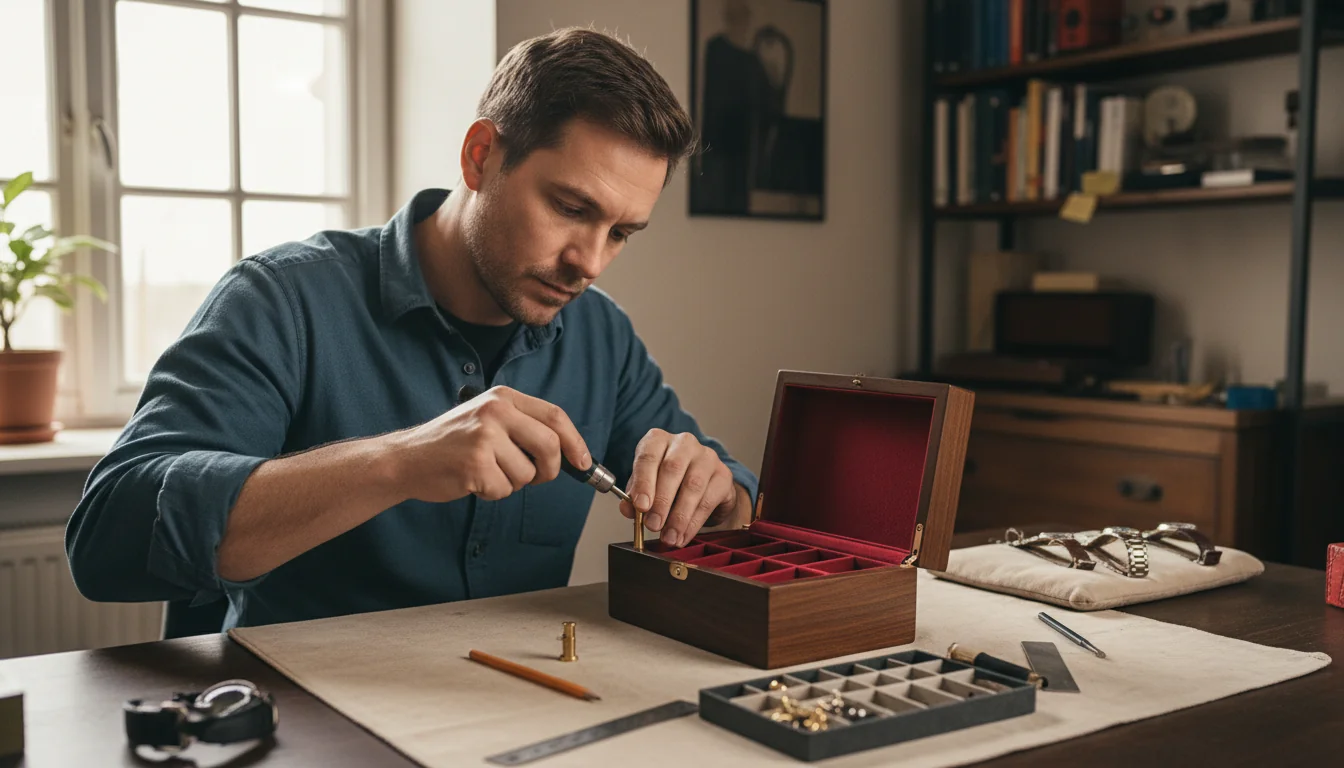
Tools ready: staged precision
Good tools make each stage smoother. Prioritize clean bores, controlled torque, and tidy fasteners that seat flush inside the box.
- Forstner bits for flat-bottom holes; brad-point bits for straight pilots.
- Low-tack tape to guard veneer and mark drill depth (±0.5 mm tolerance).
- Mini file set, countersink, and small square for strike alignment.
- Screw kit: pan-head and oval-head; consider thread escutcheons to finish holes cleanly.
- Non-permanent thread locker and felt pads for silent closing.
Set drill speed to 1,200–1,800 rpm on hardwoods. Slower cuts reduce tear-out on thin veneers.
| Lock type | Typical bore/pilot |
|---|---|
| Mini cam lock (keyed/combination) | 18–20 mm Forstner + 2 mm pilot for keeper screws |
| Recessed hasp + micro padlock | 2–3 mm pilots; shallow chisel recess for hasp plate |
| RFID/push-button cabinet lock (inside mount) | 1.5–2 mm pilots; no front bore required |
A simple inside-mounted latch avoids altering the exterior grain. That single change keeps the “discreet” promise intact.
If you work with compact storage, browse our single-slot selection for boxes that are easy to secure with a small mechanism.
Cutting and fitting: staged drilling
Here’s where a step-by-step mindset pays off. Work from inside to outside, using pilots first. Confirm fit with the lock body before any commitment tightening.
- Tape the surface; scribe the center using your earlier marks.
- Drill a 1.5–2 mm pilot through the inner wall only; check depth against your lock body.
- Bore with a Forstner bit from the inside; pause every 3–4 mm to clear chips.
- Dry-fit the cylinder; ensure the cam clears the lid lip without binding.
- Mark and pre-drill keeper or strike holes; keep screws short to avoid exterior telegraphing.
Use a threaded escutcheon inside the bore. It tidies the edge and reinforces thin plywood walls.
Prefer to compare layouts before committing? See the broader range of box formats in this curated watch box lineup to visualize keeper placement options.

Pro tips: refine each stage
Label every step on masking tape: mark → pilot → bore → mortise → mount. This single habit keeps your step sequence clean and prevents skipped actions.
- For tight lips, select a side‑entry cam so the final step hides the keyway under the rim.
- Where veneers are thin, reinforce with a micro‑escutcheon to distribute load at the mounting step.
- Mark screws with a wax pencil to read torque creep between steps.
- If the grain is brittle, switch to a skew chisel for the cleanup step.
Use blue painter’s tape as a depth flag. When dust reaches the tape, the drilling step is done.
Working on a pale box? This finish shows misalignment quickly. Compare your front profile to a pale birch‑look single box to gauge how subtle the keyway should appear after the last step.
Prefer warmer tones? A subdued brown surface often disguises seams better, which can forgive a fraction of a millimeter at the strike step. See this warm hazelnut tone for an idea of how edges visually blend once the lock is in place.
Do not skip the dry‑fit step. Once lining glue sets, correcting the strike depth is far harder.
Quick guide: 5 key steps
- Plan the layout step: centerlines, hinge reference, and edge offsets.
- Make pilot holes; then bore to size with a depth stop.
- Chisel mortises clean; test the cylinder and keeper.
- Mount the lock; shim the strike until it clicks lightly.
- Re‑line, then do a final step check: sight, sound, feel.
Snap a photo at each step. If something drifts, you can rewind to the first clean reference.
Over‑tightening tiny screws. The head can crush veneer and shift alignment at the last step.
If a step misaligns by under 0.5 mm, felt pads or a micro‑shim often fix it without re‑drilling.
Why focus on a defined step sequence?
Because each step locks in the next. Planning, drilling, and mounting as distinct stages avoids compounding error. For finish benchmarking, check a tanned finish sample to see how seams should visually disappear.
How does this approach compare to visible hasps?
A staged, interior‑mounted lock hides hardware lines and preserves clean fronts. Hasps are quicker but add external bulk. The multi‑step method stays elegant and harder to tamper with.
What are the advantages of a cam‑style mechanism?
One circular bore and a simple mounting step keep the job tidy. It’s reliable, compact, and quiet. For color matching and edge reads, view a slate‑toned case as a visual guide.
Does the step order change for lined boxes?
Slightly. Do a dry‑fit step without lining, confirm the strike, then re‑line and retest. Keep adhesive clear of moving parts; add felt after the last step only.
How to maintain the lock after the final step?
Annually, add a drop of dry lube to the cam and keyway, and check screw torque. Compare the closure feel against a deep carmine variant photo to ensure the front seam still reads tight.
Follow a clear step sequence—layout, drill, mount—and your lock will vanish in plain sight while working smoothly in 2026 and beyond.
- Mark with intent: centerlines first, then edges.
- Cut cleanly: depth stops, backers, and sharp tools.
- Mount with care: shim strikes and test quietly.
Take it one step at a time—the discreet result is worth the patience.
Alignment matters: closing phases
Lock bodies are forgiving; strikes are not. Treat this stage like fitting a door: micro-adjust until the cam or bolt meets the keeper smoothly every time.
- Blue-tape the strike area; ink the cam edge; close to transfer the contact mark.
- File the keeper slot in small passes; test after each tiny step rather than removing too much.
- Add a 1 mm felt shim if the lid floats; it cushions and fine-tunes height.
- Tighten screws with a hand driver; power tools can strip miniature threads.
- Lubricate the cam lightly; a dry PTFE smear keeps action silent.
If the lid twists on its hinges, re-square the lid first. Alignment errors compound at the final step.
Treat these final stages like setting a safe’s door: quiet closing, no rattle, and a clean feel from the first turn.
Finishing touches: stealth stage
Now disguise and protect. The goal is simple: keep the lock action secure, while the exterior still reads as a minimalist display box.
- Apply matching felt or leather lining to conceal the lock body and screws.
- Add a color-matched plug or a tiny inside escutcheon for the bore.
- Use a magnet “captive” cover over the keeper, painted to match the interior.
- Place a desiccant sachet; dry interiors protect movements and strap materials.
- Document your code/key ID and store duplicates away from the box.
A felt-wrapped keeper not only hides hardware, it dampens sound—no giveaway “click” when you turn the key.
Walk through a final test sequence: lock, unlock, lid up, lid down. Each stage should feel smooth and repeatable, like a well-tuned cabinet latch.
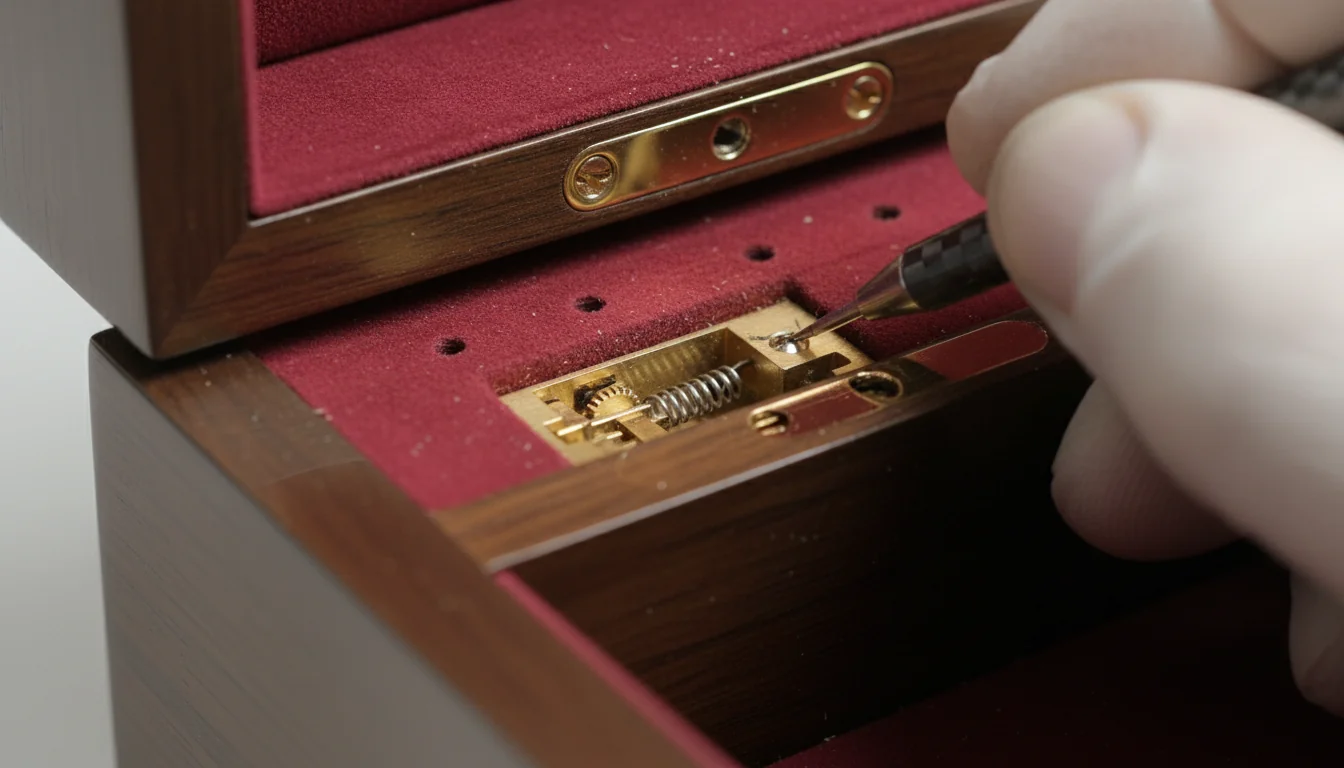
Expert tips: stage-by-stage success
Choose hardware that matches your interior depth. A low-profile cam or an inside-mounted keypad keeps the discreet theme intact at every step.
- Key vs. combination: keys are slimmer; combinations remove key storage risk.
- RFID inside-mount: no exterior hole; battery management becomes the routine step.
- Recessed hasp + micro padlock: robust, but plan a neat recess to stay subtle.
- Cam orientation: position for downward travel to harness gravity when closing.
Never over-tighten on MDF or plywood. Use washers or a backer plate to spread load.
Working with a compact single-slot case? Consider this birch-toned one-watch format when you need ample interior clearance for an inside latch.
If you prefer a richer hue with similar proportions, an alternative like this compact deep-color option leaves room for a strike plate while keeping a small footprint.
0 comments