


You see “satin,” “matte,” and “polished” everywhere—yet how do you actually recognize a true brushed finish in the wild? If you’ve ever hesitated in a showroom or while browsing specs, this guide is for you.
In 2026, knowing how to recognize the subtle markers saves time, prevents mismatches, and helps you evaluate quality. You’ll get a crisp definition, quick tests, and material-by-material clues to spot the real thing confidently.
Texture tells: parallel grain
Start with the surface itself. A true brushed finish shows a unidirectional grain: thousands of fine, parallel lines running in one consistent direction. That grain comes from abrasive belts or wheels drawn across the material.
- Look for linear, hairline streaks that align consistently.
- Confirm the grain does not swirl, dimple, or crosshatch.
- Expect a muted sheen, not a mirror reflection.
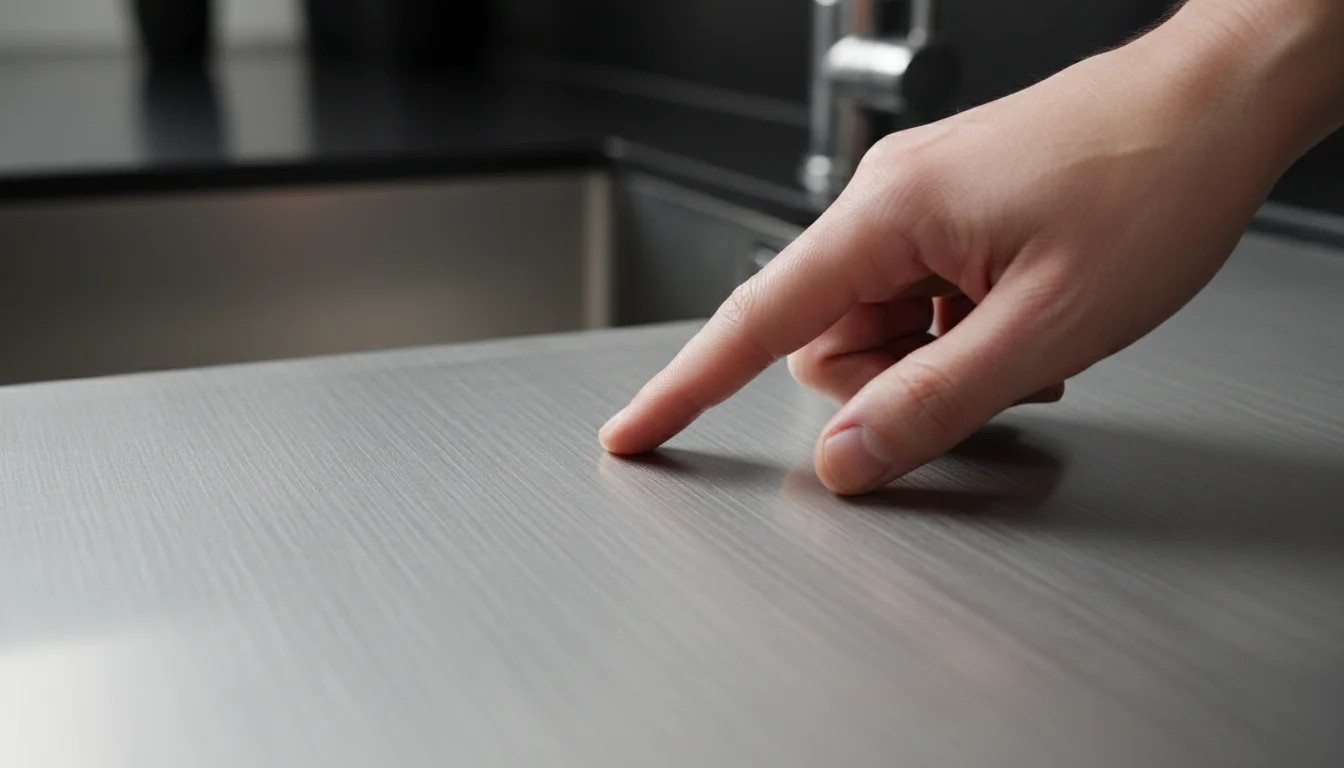
- Run a fingertip lightly: you may feel a faint, even texture.
- Edges often reveal the direction of brushing most clearly.
To recognize it fast, tilt the object: the grain lines should sweep as one band, not scatter like a satin haze.
If the lines are random or look like a fine mist, you may be seeing a satin finish instead. Keep reading to learn how to tell them apart on the spot.
Light behavior: muted reflections
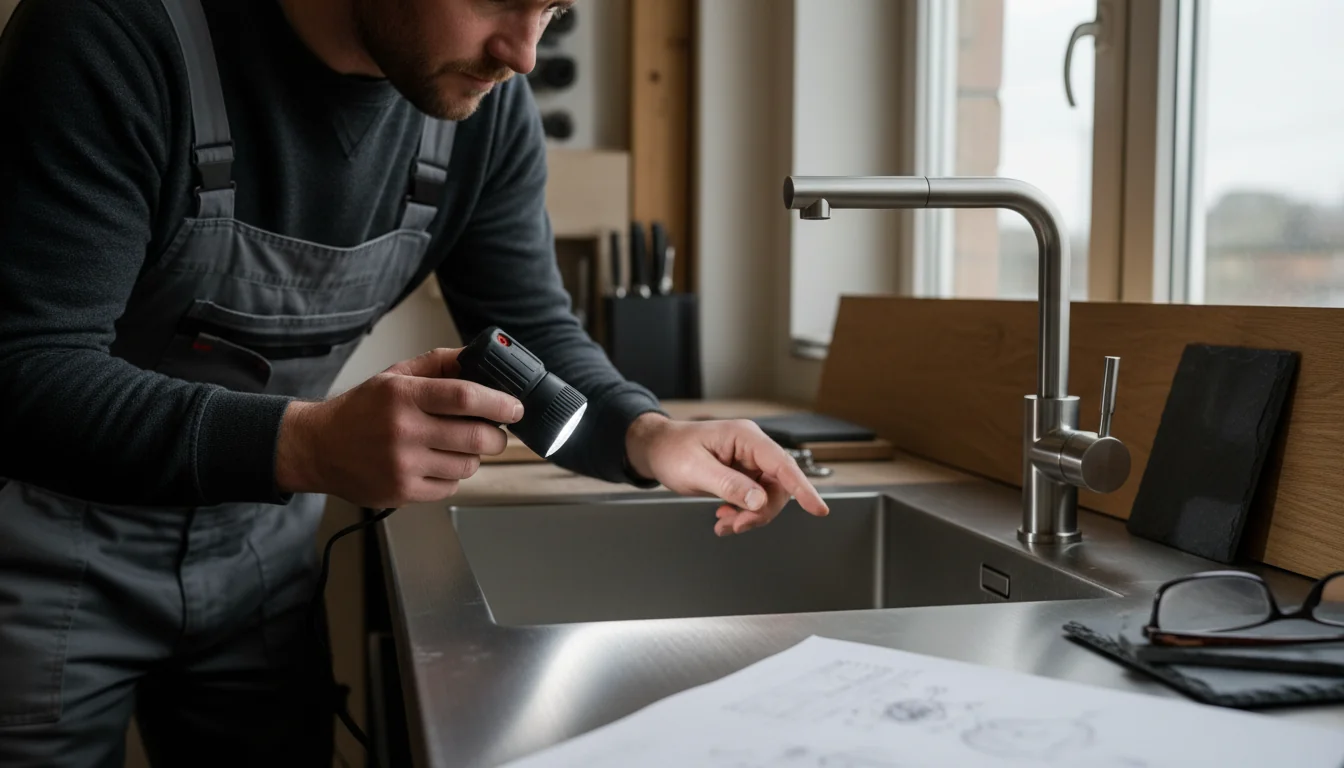
Light is your best ally. Brushed and polished reflect light differently, and satin sits between them. Use a phone flashlight or window glare to identify each finish quickly.
- Brushed: elongated, directional highlights that follow the grain.
- Satin finish: soft, even glow with no visible abrasion lines.
- Polished: clear reflections and high gloss; you can see shapes.
- Matte/black variants mute reflectivity further but keep grain cues.
| Cue | Brushed | Satin vs Polished |
|---|---|---|
| Grain visibility | Clear, parallel lines | Satin: none; Polished: none |
| Reflection | Directional, muted | Satin: diffuse; Polished: mirror |
| Touch | Fine texture along grain | Satin: velvety; Polished: slick |
Surface roughness for classic brushed stainless often sits around Ra 0.5–1.5 µm, which explains the soft, linear glow.
When you need to recognize finishes in bathrooms and kitchens, this light test is decisive for faucets, tub and shower trim, and stainless backsplashes.
Close-up edges: machining clues
Edges and corners often tell the truth. Brushing tools leave micro-trails you can spot where planes meet—handles, appliance panels, wheels, and door hardware.
- Check edges: the grain should “wrap” consistently, not randomize.
- On flat stainless panels (#3/#4 styles), grain runs one way by design.
- On cylindrical parts, lines may spiral subtly yet stay uniform.
- Look for tool “start/stop” marks at hidden ends; they’re faint but real.
If edges show circular buff swirls or a haze with no lines, you’re likely looking at a polished or satin process, not brushed.
This edge check helps you recognize the true process even when the face is smudged or under poor lighting.
Material context: metal, stone, wood
“Brushed” is a technique, not a metal. You will see it on stainless steel, nickel, brass, aluminum, and beyond—and even on granite or wire-brushed wood.
- Stainless steel: kitchens, appliances, bathroom fittings, name tags.
- Nickel and brass: warm tones; brushed nickel is shinier than satin.
- Granite: a rougher texture; scratches hide well but seal regularly.
- Wood: wire-brushed lifts softer grain; expect deeper tactile ridges.
On stone and wood, brushing is more textural than on metal. Recognize it by touch: the grain feels sculpted, not just visually linear.
If you pair metals with warm textures, consider complementing them with our wooden winders selection to echo grain patterns and reduce visual glare in display setups.
Hands-on checks: quick 2026 tests
You can recognize a brushed finish in under a minute with simple checks that require no tools. Use light, touch, and a small water droplet.
- Light sweep: scan for straight, aligned grain reflections.
- Finger glide: feel subtle texture along, not across, the lines.
- Water bead: see if droplets stretch slightly with the grain.
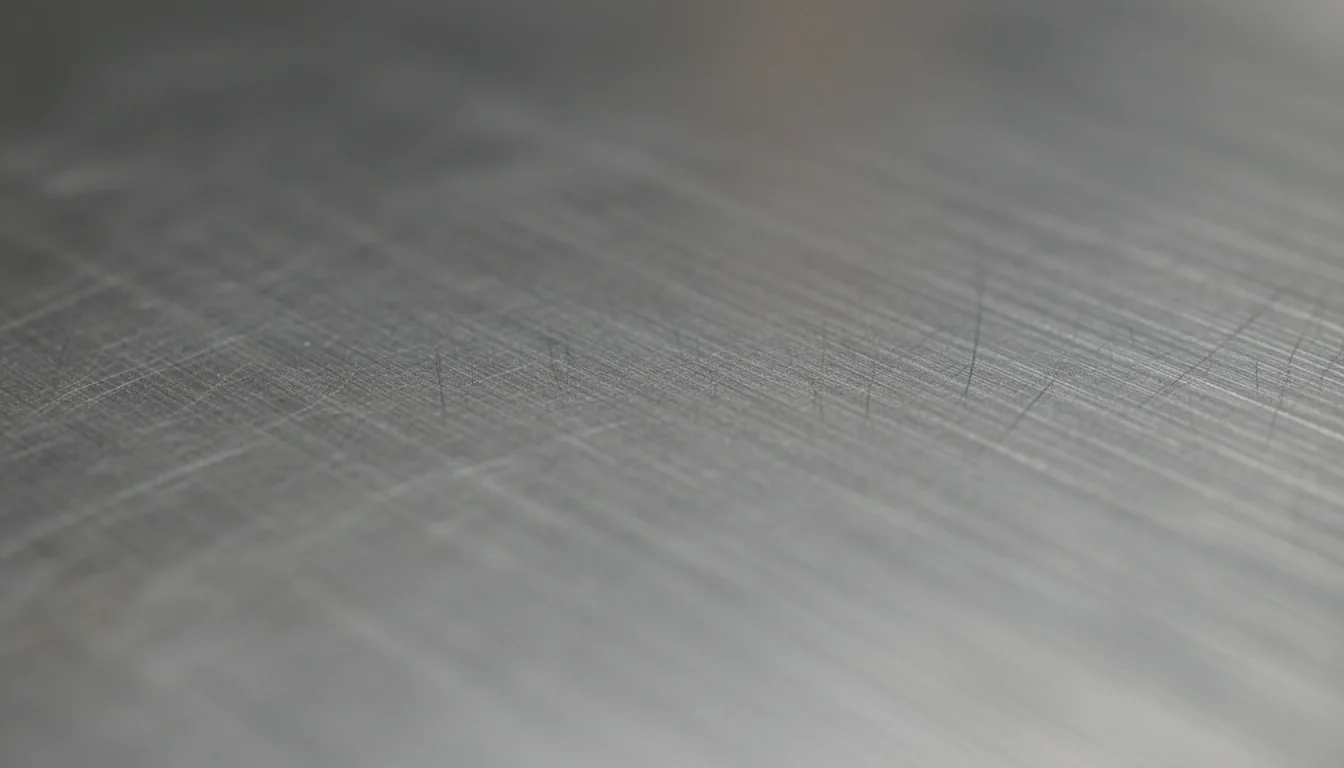
- Magnify: phone camera macro view reveals hairline abrasions.
- Edge read: corners and cutouts display the pattern best.
If the surface claims “spot-free brushed brass,” check grain first, then test for water spots. True brushing hides small marks; spot control helps, but grain proves the finish.
These quick tests help you identify finishes on faucets, shower trim, kitchen hardware, jewelry, and small appliances without specialist tools.
Guide: verify a brushed finish in minutes
- Rotate under side light: look for parallel grain and stretched highlights.
- Glide a fingertip: feel a faint drag with-the-grain, smoother across it.
- Smudge test: expect moderated fingerprints versus polished glare.
- Microscratch scan: linear micro-wear supports a brushed texture.
- Compare to satin: no visible lines on true satin, only an even glow.
Use your phone’s flashlight at an angle. Side lighting exaggerates grain so you can recognize it instantly.
After verification, minimize contact with hard surfaces. A quiet automatic winder for one piece limits abrasion and preserves the linear texture.
Why learn to recognize this finish?
It prevents mix-ups with satin or polished, ensures coherent design choices, and helps assess quality. In 2026, accurate identification also streamlines maintenance decisions.
How does it compare to satin or polished?
Brushed shows visible lines and soft glare. Satin has no visible lines, just an even low sheen. Polished is mirror-bright with strong reflections and clearer smudges.
What are the practical advantages?
It hides minor wear better than polished and adds visual depth. Many users find it easier to keep visually consistent under normal lighting conditions.
Does recognition change by material?
Clues are similar, but intensity varies. Stainless steel and nickel display grain clearly; stone looks rougher; coated colors can mute the lines slightly.
How do I store multiple brushed watches safely?
Use separated slots and soft linings. For rotation needs, a multi‑watch automatic winder reduces handling while keeping pieces ready.
How can I prevent scratches while I learn to identify?
Create a soft work surface and avoid gritty cloths. A dedicated storage case with individual cradles helps separate brushed items.
Any fast rule to spot real brushed nickel?
Look for warm tone plus linear texture. If the surface glows evenly with no lines, you’re likely seeing satin nickel rather than true brushing.
To recognize a brushed finish, read the grain, test the light, and confirm by touch—three habits that turn hesitation into certainty.
- Linear, unidirectional lines are the first signal.
- Highlights stretch with the grain; glare stays muted.
- A faint directional drag by touch seals identification.
Protect newly identified pieces with gentle storage, such as a single‑slot watch case, and keep applying these quick checks whenever finishes look confusing.
Common confusions: satin, honed, polished
Many people use “satin” and “brushed” interchangeably, but they’re not the same. Recognize the distinctions to avoid mislabeling in 2026 projects.
- Satin finish: even, no visible grain; velvety to the touch.
- Brushed: linear abrasion lines; shinier than satin nickel, duller than polished.
- Polished: mirror-like; distinct reflections and high gloss.
- Honed stone: matte with smooth feel; lacks the rougher “tooth” of brushed stone.
Low light can make satin look brushed. Always confirm by searching for parallel lines before you decide.
On discussion boards and forums (from jewelry discussion threads to home improvement chats), this “satin vs brushed” mix-up is the most frequent recognition error.
0 comments